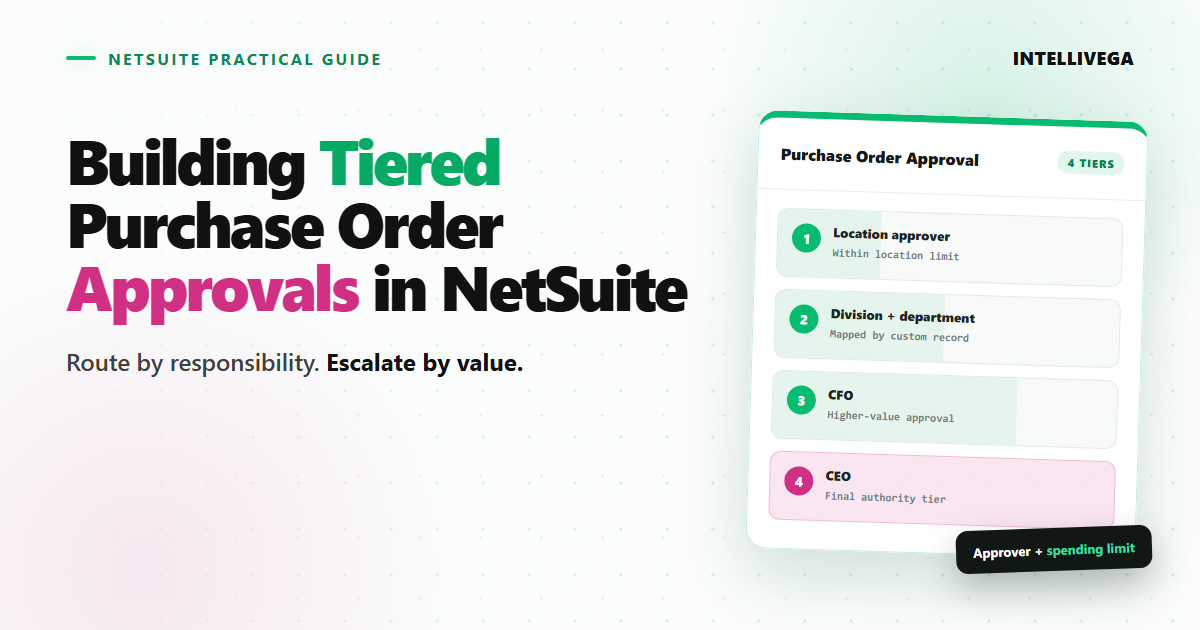
Building Tiered Purchase Order Approvals in NetSuite
A tiered approval workflow answers two essential questions: Who should review this purchase order, and does that person have the authority to approve its total?
In NetSuite, you can combine a workflow, a custom mapping record, and a Workflow Action Script to route each order through the organization and automatically escalate higher-value purchases. The following approach keeps that process maintainable.
The approval path
This example includes four possible approval tiers:
- Location approver
- Division and department approver
- CFO
- CEO
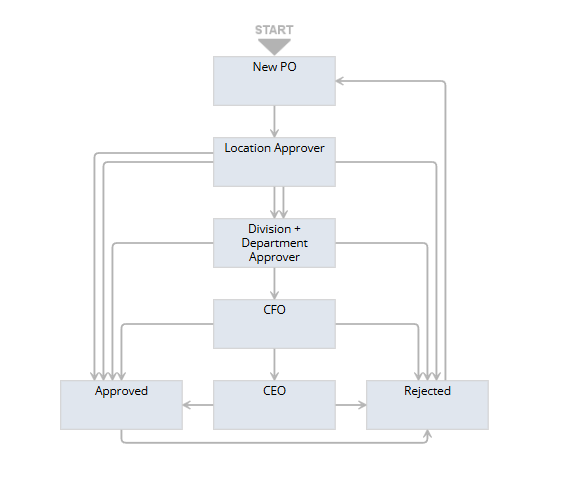
Each approver has a spending limit. When the purchase order total is within that limit, the approver can complete the approval. When the total exceeds the limit, approval moves the order to the next tier. A rejection returns the order to the requester for correction and resubmission.
1. Put routing rules in a custom record
Begin with a custom record that identifies the approver for each division and department combination.
| Field | Purpose |
|---|---|
| Division | The transaction's division or class |
| Department | The transaction's department |
| Approver | The employee responsible for that combination |
| Limit | The largest amount that employee can approve |
This design keeps routing data separate from the workflow. Administrators can change an approver or spending limit without rebuilding workflow transitions.
Allow only one mapping for each division and department combination because duplicate mappings make the correct approval route ambiguous.
2. Store the workflow's context
Configure the workflow to Execute as Admin. This ensures that its custom-record lookups and conditions can access the approval mapping regardless of the current user's permissions. Without this setting, a user who cannot access the custom record may cause conditions involving that record to resolve to false, leading to confusing routing failures.
Add workflow fields for:
- PO Created By: The requester to notify when the order is approved or rejected.
- Division/Department Approver Mapping: The custom record selected for this order.
- Limit: The current approver's spending limit.
Setting these values once at each tier keeps the transition rules simple: compare the purchase order total with the stored limit, then either approve the order or escalate it.
3. Resolve the division and department approver
NetSuite can assign the location approver directly from the location record. Resolving the division and department approver, however, requires a lookup. The core of a Workflow Action Script can find the matching custom record and return its internal ID:
const po = context.newRecord;
const classId = po.getValue({ fieldId: 'class' });
const departmentId = po.getValue({ fieldId: 'department' });

if (!classId || !departmentId) {
    return null;
}

const mappingSearch = search.create({
    type: 'customrecord_division_dept_approvers',
    filters: [
        ['custrecord_approval_division', 'anyof', classId],
        'AND',
        ['custrecord_approval_department', 'anyof', departmentId]
    ],
    columns: ['internalid']
});

const results = mappingSearch.run().getRange({ start: 0, end: 2 });

if (results.length > 1) {
    throw new Error(
        `Multiple approval mappings found for Class ${classId} and Department ${departmentId}`
    );
}

return results.length === 1 ? Number(results[0].id) : null;
Returning the mapping instead of only the employee allows the workflow to read both the approver and the associated limit. If your account uses Class to represent Division, make that relationship explicit in your field names and documentation.
4. Give every approval state the same shape
The location, division/department, CFO, and CEO states should all follow a consistent pattern:
- Set the next approver and approval limit.
- Email the next approver.
- Lock the purchase order for everyone except that approver and administrators.
- Show Approve and Reject only to authorized users.
- Move to Approved when the total is within the current limit.
- Move to the next approval tier when the total exceeds the limit.
Define requester self-approval explicitly. This workflow compares PO Created By with Next Approver, allowing it to bypass an unnecessary stop when the requester is the current approver and the order already exceeds that person's limit.
5. Finish the workflow cleanly
In the Approved state, set the native approval status and notify the requester. In the Rejected state, clear the next approver, notify the requester, and display a Resubmit button.
Before releasing the workflow, test the boundary cases that are easiest to overlook:
- A total exactly equal to an approver's limit
- A total just above each limit
- A missing or duplicate mapping
- A requester who is also an approver
- Approval, rejection, and resubmission at every tier
A maintainable approval model
The workflow should control the approval process, while custom records define the people and limits within it. Keeping those responsibilities separate makes tiered approvals easier to understand, audit, and update as the organization changes.